

Life can be busy.
And slowing down and really resting is rarely on our list of things to do. More often than not, we wait until we are forced to rest, whether that be due to burn out or illness or suffering an injury.
Enter Restorative Yoga: A practice that encourages what I like to think of as “active” rest and relaxation. A practice that helps us to really refill our cups, restore our energy and recalibrate our nervous system so that we don’t have to wait until we burn out or get injured or fall sick. A practice that can actually help prevent those things from happening.
And before I share my favorite Restorative postures, I think it’s important to recognize the difference between what I consider to be “active” vs. “passive” relaxation. As I mentioned above, Restorative Yoga, to me, is a form of active relaxation because it requires mindfulness and presence. It is relaxation that has been proven to help us feel rested and recharged. And passive relaxation (again, my opinion) includes activities like laying on the couch and watching TV. This passive relaxation is a bit more mindless… And not that there is anything wrong with that, I do it too, but I don’t always feel so rested and recharged afterwards. Most of the time, it actually makes me feel more tired. And while passive relaxation can be enjoyable, I don’t think it has the capacity to truly help us to slip into that parasympathetic “rest and digest” mode that is so essential for recharge and recovery.
So, this isn’t to say that you should never lay on the couch and watch TV. Because sometimes that’s what you need! But, if you’re looking to incorporate more active relaxation into your routine, techniques that’ll help you reset and recharge in order to avoid burn out or injury or illness, then check out these 5 Restorative Poses below!
1. Seated Check-In and Pranayama

Begin in a comfortable seated position, allowing yourself to “arrive” for your active relaxation practice. I like to sit on a bolster or a pillow so that my hips are slightly elevated. For me it’s what’s most comfortable, so find what works best for you. Give yourself permission to let go of your day, or if you choose to practice at the beginning of your day, give yourself permission to take this time where you don’t have to think about the day ahead.
Once you’ve settled in, gently guide your attention onto your breath. Begin to linger in the exhale, as if you could just deflate and release worries and stress with every breath out. Explore taking a 4-count inhale and an 8-count exhale. The breath work should never feel forced or stressful, so you can always adjust the pace of your counting to better serve you. Repeat this breath pattern for 5-10 rounds.
2. Supported, Gentle Twist
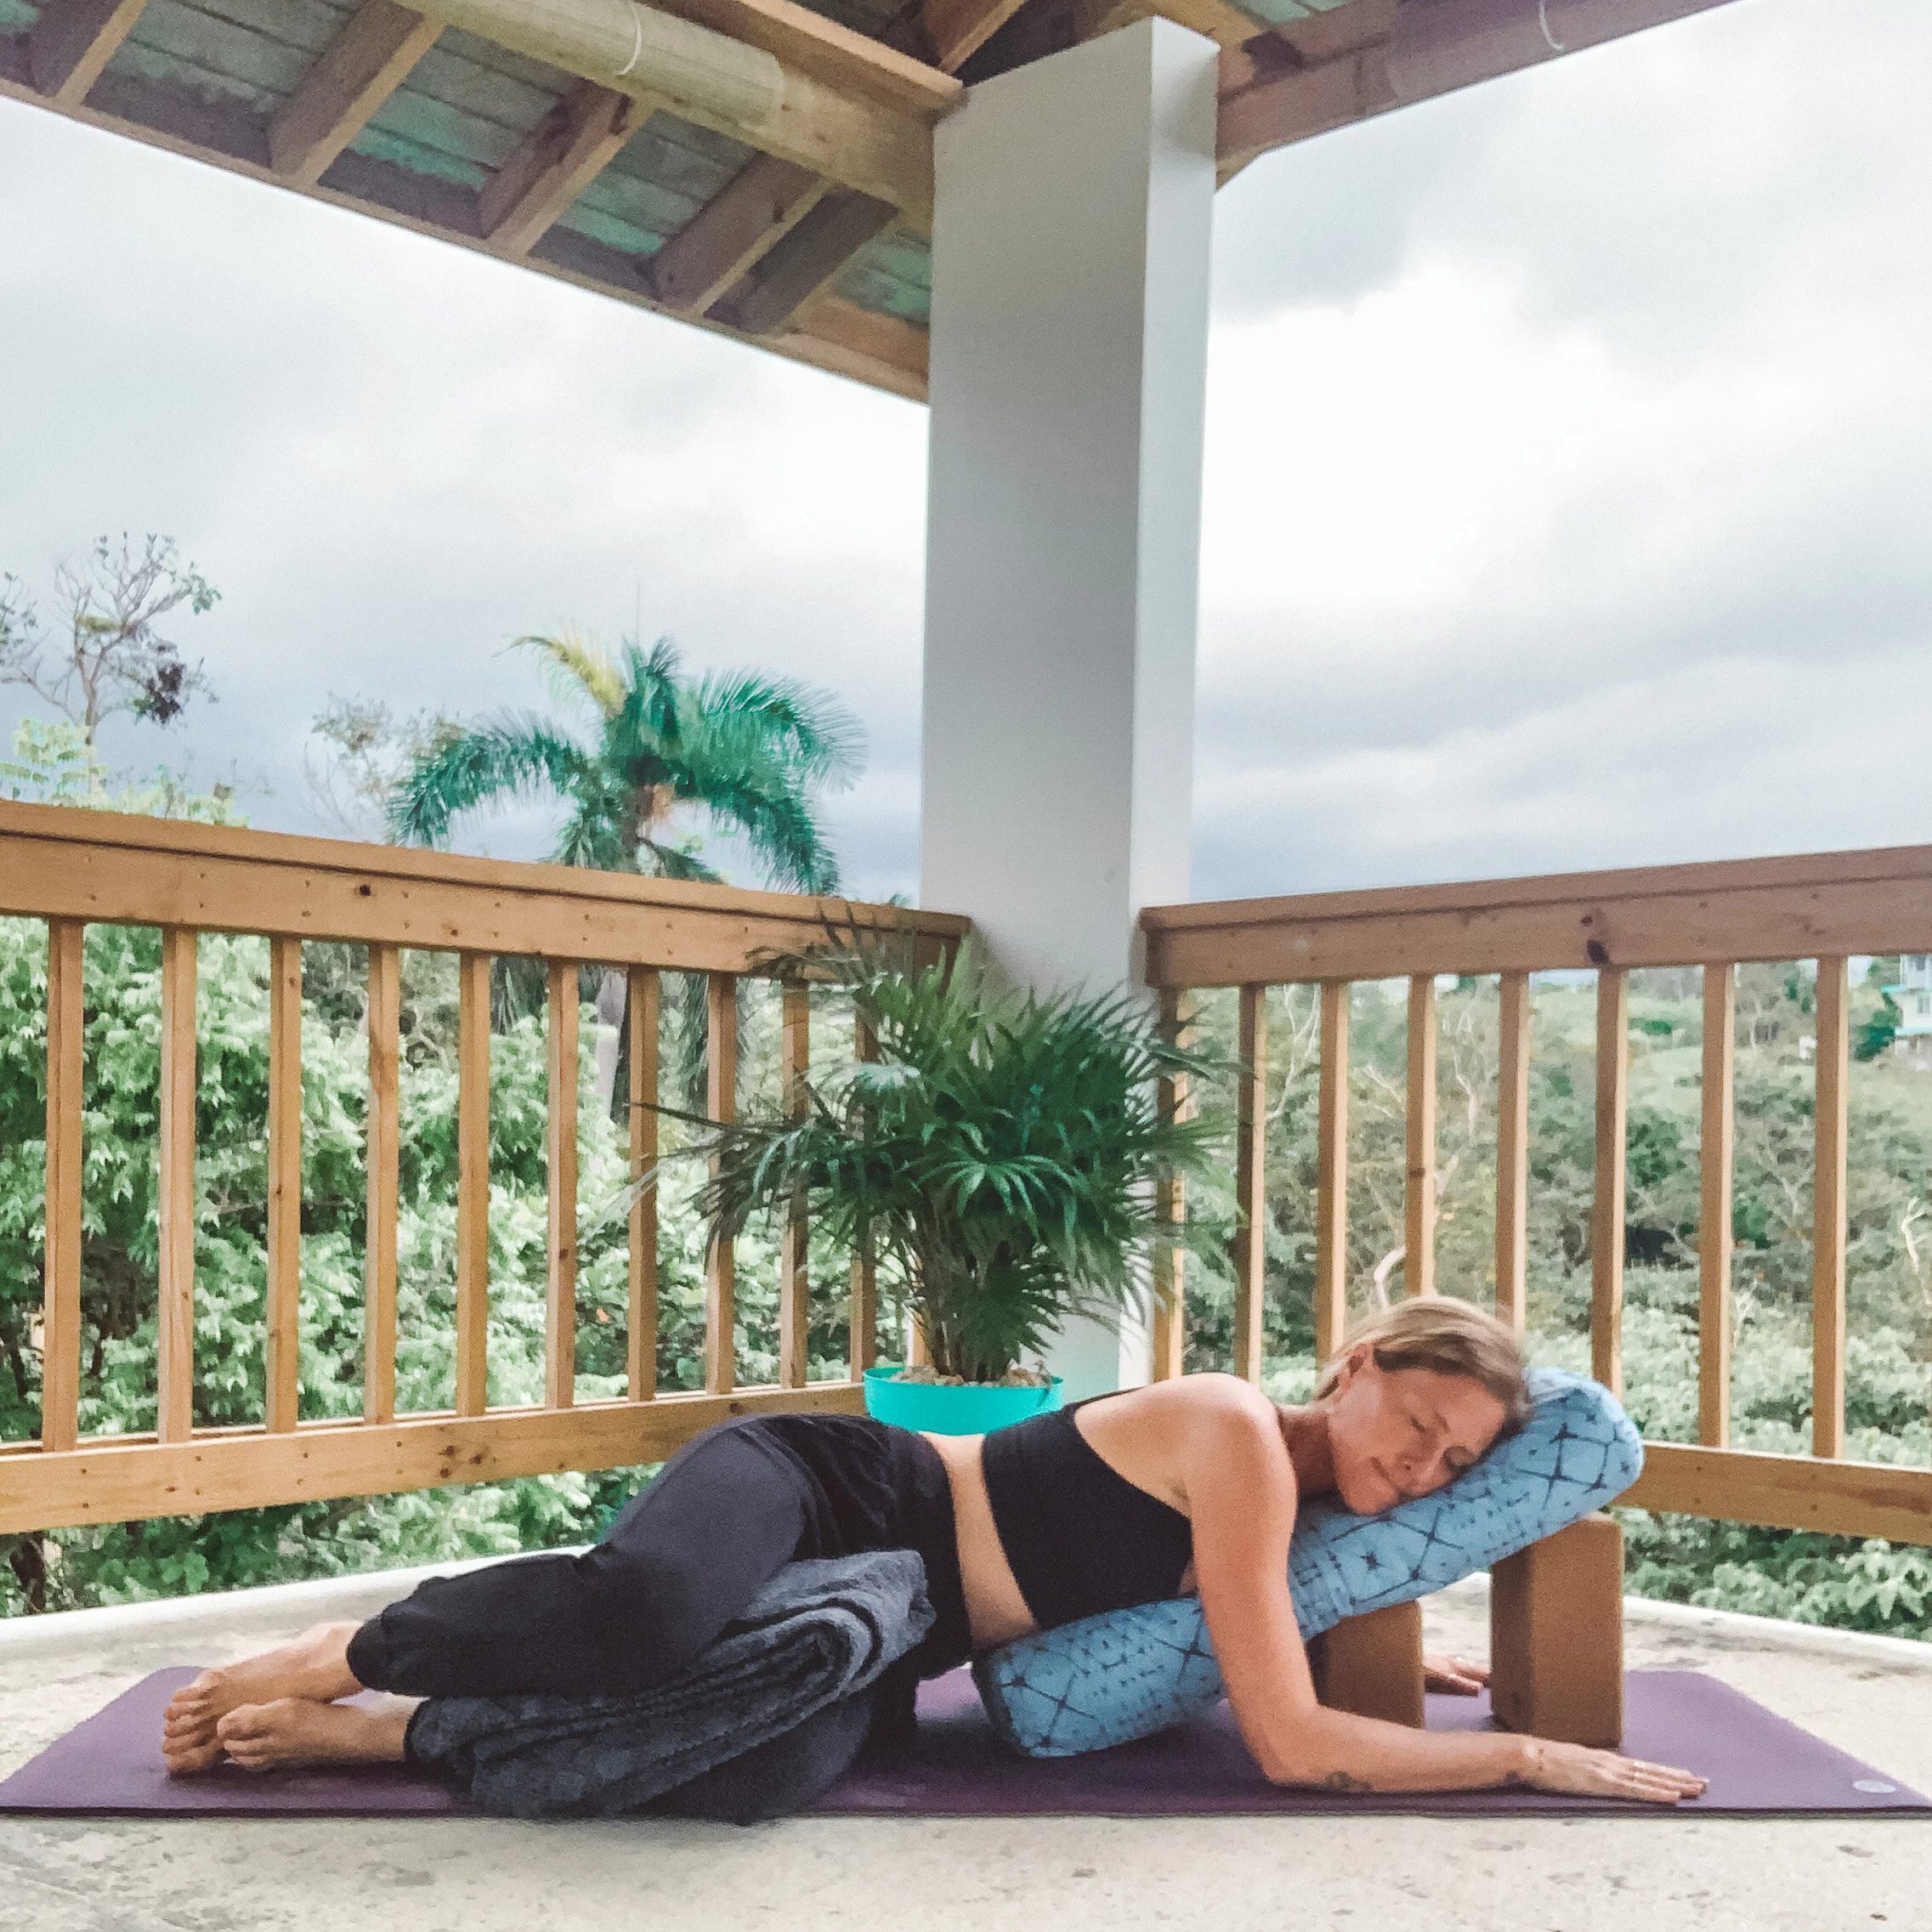
Gently transition onto your left hip. If need be, bring a blanket/towel under your hip for cushioning. It may also feel nice to bring a blanket/towel between your knees for a little padding as well (as pictured). Use yoga blocks and/or pillows to lift the floor up to you in a way that feels comfortable and supportive. Rest your left cheek on your props and allow your body to melt into the support - it shouldn’t feel like your arms are working to hold you up. If you enjoyed the 4:8 breathing pattern, stick with it. If that feels like too much work, allow your breath to remain slow, steady and relaxed. Stay here for 3-5 minutes before switching sides.
3. Supported Forward Fold

Slowly press yourself up out of your gentle twist and make your way back into a seat. For this pose, I prefer to have a folded blanket/towel under my sitting bones to support my pelvis in slightly tipping forward. Extend your legs out long. If your hamstrings are feeling tight, soften your knees a bit or bring another towel or blanket (you can roll it up a little) under your knees. Once again, use whatever props you have at home to support your arms and forehead. I find that a yoga bolster on its longest height works great for me. Lean into the support and drop back into your breath. Stay here for 3-5 minutes.
4. Supported Heart Opener w/ Butterfly Legs

Gently support yourself to come off of your props. For this pose, you’ll want to use some pillows/blankets or a yoga bolster that is about as long and as wide as your torso so that your entire spine and head feels supported and so that the back of your forearms can rest comfortably on the floor beside you. You should feel like the shoulders can effortlessly roll away from the center of your chest. I also find it helpful to use a towel or blanket as extra support for my head (as pictured).
For your legs, bring the soles of your feet together allowing the knees to fall apart. Bring some kind of support underneath your knees so that your legs can relax. Once again, lean into this support and drop into your breath. Stay here for 3-5 minutes.
5. Supported Savasana/Deep Rest

There are multiple ways to set up for a supported savasana, but this one is my personal favorite. I like to bring a bolster (or pillows/blankets) under my knees - I feel like it pulls any discomfort or tension out of my low back when I’m lying on the floor. Then, I like to roll up a blanket/towel so that the roll fills the space of the natural curve of my neck. It’s important that you don’t make the roll too thick - it should fill the space and provide some support for the neck without forcing your chin up towards the ceiling. Then, if there is enough blanket/towel, I like to tuck the extra fabric around the side of my head to create a sort of cocoon for my head to rest in. You should feel like your head is supported enough that all of the muscles around the neck can relax. It may also be helpful here to place a towel or eye pillow over the eyes to block any light. Again you should feel completely supported here. Let go of the breath pattern if you’ve been following it and allow your breathing to resume its natural ebb and flow. If possible, stay here for 7-10 minutes… Maybe even longer if you have the time! When you’re ready to come out of savasana do so slowly and mindfully. Take a moment in a comfortable seated position to notice how you feel.
Lastly… A few things to keep in mind for your Restorative Yoga practice:
The goal of a Restorative practice is not to stretch the tissues, but to support the body in a way that it can relax. Once the body is relaxed, the mind will follow.
If you’re short on time just pick one or two of these poses to stay in for a few minutes. A few minutes of relaxation is better than no minutes of relaxation. If you have the time you can string them all together for a 30minute(ish) practice.
Yoga-specific props are not necessary for a Restorative practice. Use whatever you have at home! Couch pillows, bed pillows, blankets, towels, books, and sweatshirts can all be helpful. If you’d like to invest in some yoga-specific props, here are links to the Manduka props that I’m using in these photos. If you’re shopping, feel free to use the code “CAIT” for 15% OFF at checkout.